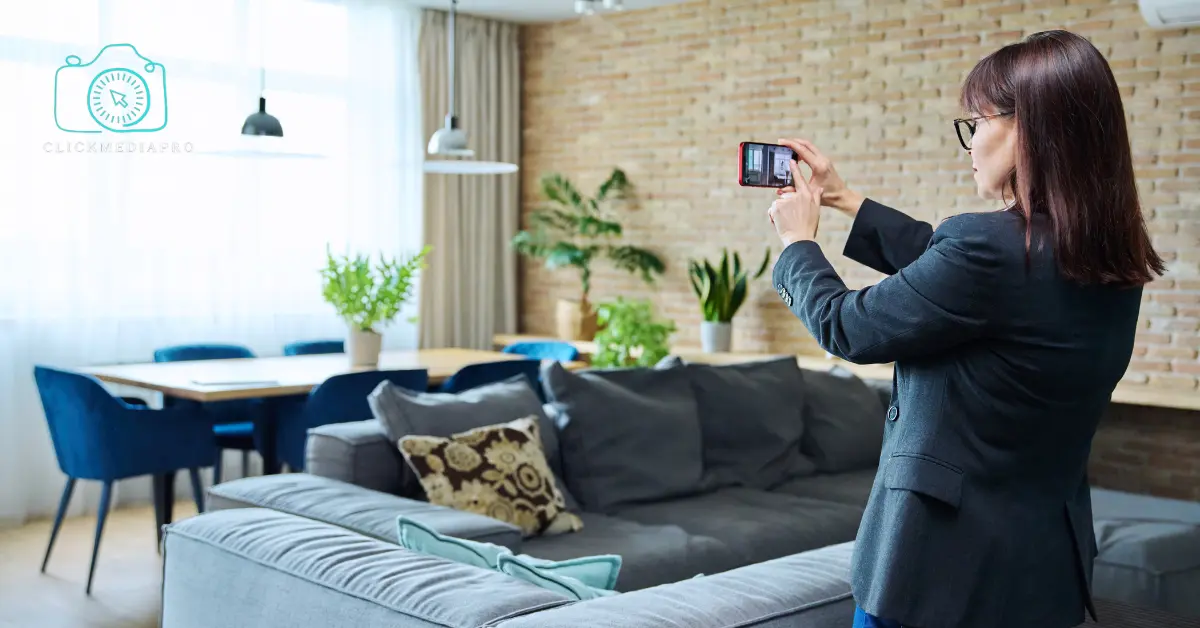
How to Prepare Home for Real Estate Photography – When it comes to selling a home, first impressions matter. In the digital age, where potential buyers browse listings online, high-quality photographs can make all the difference. This guide will provide you with detailed steps to prepare your home for real estate photography, ensuring your property stands out in the competitive market.
Why Professional Photography is Important
In real estate, professional photography can significantly impact a property’s selling price and the speed of sale. Listings with high-quality images attract more interest, leading to a higher likelihood of offers. According to a study by the National Association of Realtors, homes with professional photographs sell 32% faster than those without.
Understanding Your Target Market
Before you start preparing your home for photography, it’s essential to understand your target market. Are you selling a family home, a luxury condo, or a quaint cottage? Tailoring your approach based on your target audience will help create appealing images that resonate with potential buyers.
Declutter and Depersonalize
Tips for Decluttering
Start by removing any unnecessary items from each room. A clutter-free space looks larger and more inviting. Here are some quick decluttering tips:
- Rooms to Focus On: Prioritize common areas like the living room, kitchen, and bathrooms.
- Use Storage Solutions: Invest in attractive storage options to keep items out of sight.
- Limit Furniture: Too much furniture can make a space feel cramped. Aim for a few essential pieces.
The Importance of Depersonalizing
Depersonalizing involves removing personal items such as family photos, awards, and personalized decor. This allows potential buyers to envision themselves in the space. Consider these steps:
- Replace Personal Photos: Use neutral artwork or abstract prints instead.
- Remove Unique Decor: Stick to neutral colors and simple designs that appeal to a broader audience.
Clean, Clean, Clean!
Deep Cleaning Checklist
A clean home is essential for photography. Follow this deep cleaning checklist to ensure your space is spotless:
- Floors: Vacuum carpets and mop hard floors.
- Windows: Clean windows inside and out for maximum light.
- Kitchen: Clear countertops, clean appliances, and wipe down cabinets.
- Bathrooms: Scrub tiles, sinks, and fixtures until they shine.
Lighting Matters
Natural Light vs. Artificial Light
Good lighting can transform your home photos. Natural light is ideal, so aim to shoot during the day when light is abundant. However, sometimes you’ll need to use artificial lights to fill in shadows or enhance darker spaces.
Tips for Enhancing Lighting
- Open Blinds and Curtains: Allow as much natural light in as possible.
- Use Soft Light: Avoid harsh overhead lights. Instead, opt for soft lamps or strategically placed lighting.
Staging Your Home
What is Home Staging?
Home staging involves arranging furniture and decor to highlight a property’s strengths. This can lead to faster sales and higher offers.
DIY Staging Tips
- Create a Welcoming Atmosphere: Add fresh flowers or a bowl of fruit in the kitchen.
- Define Spaces: Arrange furniture to create defined areas, such as a cozy reading nook or a functional dining space.
Highlighting Key Features
Architectural Elements
Focus on unique architectural features like fireplaces, crown molding, or built-in shelving. Ensure these elements are clean and unobstructed for the photoshoot.
Outdoor Spaces
Don’t forget to showcase outdoor areas, such as patios or gardens. Clean up outdoor furniture and ensure landscaping is neat and inviting.
Stay informed about the latest luxury real estate developments in Toronto by visiting Wedu.ca and exploring its expert blog posts. For comprehensive insights into the housing market and valuable resources for buyers and sellers, check out the Wedu blog. Click Media Pro specializes in professional real estate photography in Toronto, capturing stunning images that showcase properties in their best light.
Final Touches Before the Shoot
The Day of the Shoot
- Check the Weather: If shooting outdoors, consider the weather conditions. A sunny day is ideal for outdoor photos.
- Set the Scene: Ensure everything is in place before the photographer arrives. Have a checklist to verify that all rooms are camera-ready.
Post-Processing and Marketing
The Importance of Editing
After the photoshoot, professional editing can enhance images, correct lighting issues, and make colors pop. High-quality editing is essential for standing out online.
Where to Share Your Photos
Share your stunning photos across various platforms:
- MLS Listings: Ensure your images are high-quality on multiple listing services.
- Social Media: Use platforms like Instagram and Facebook to showcase your listing.
Conclusion – How to Prepare Home for Real Estate Photography
Preparing your home for photography requires careful planning and attention to detail. By following these steps, you can ensure your home looks its best and attracts potential buyers. With professional photography, you can enhance your listing and make a lasting impression.
FAQs
How much time should I allocate for preparation?
Allocate at least one to two weeks for thorough preparation, including cleaning, decluttering, and staging.
Should I hire a professional stager?
Hiring a professional stager can be beneficial, especially if your home is vacant or if you’re unsure how to best showcase its features.
What if I can’t do all the suggested steps?
Focus on the most impactful areas, such as decluttering and cleaning, to make a significant difference in your photos.

